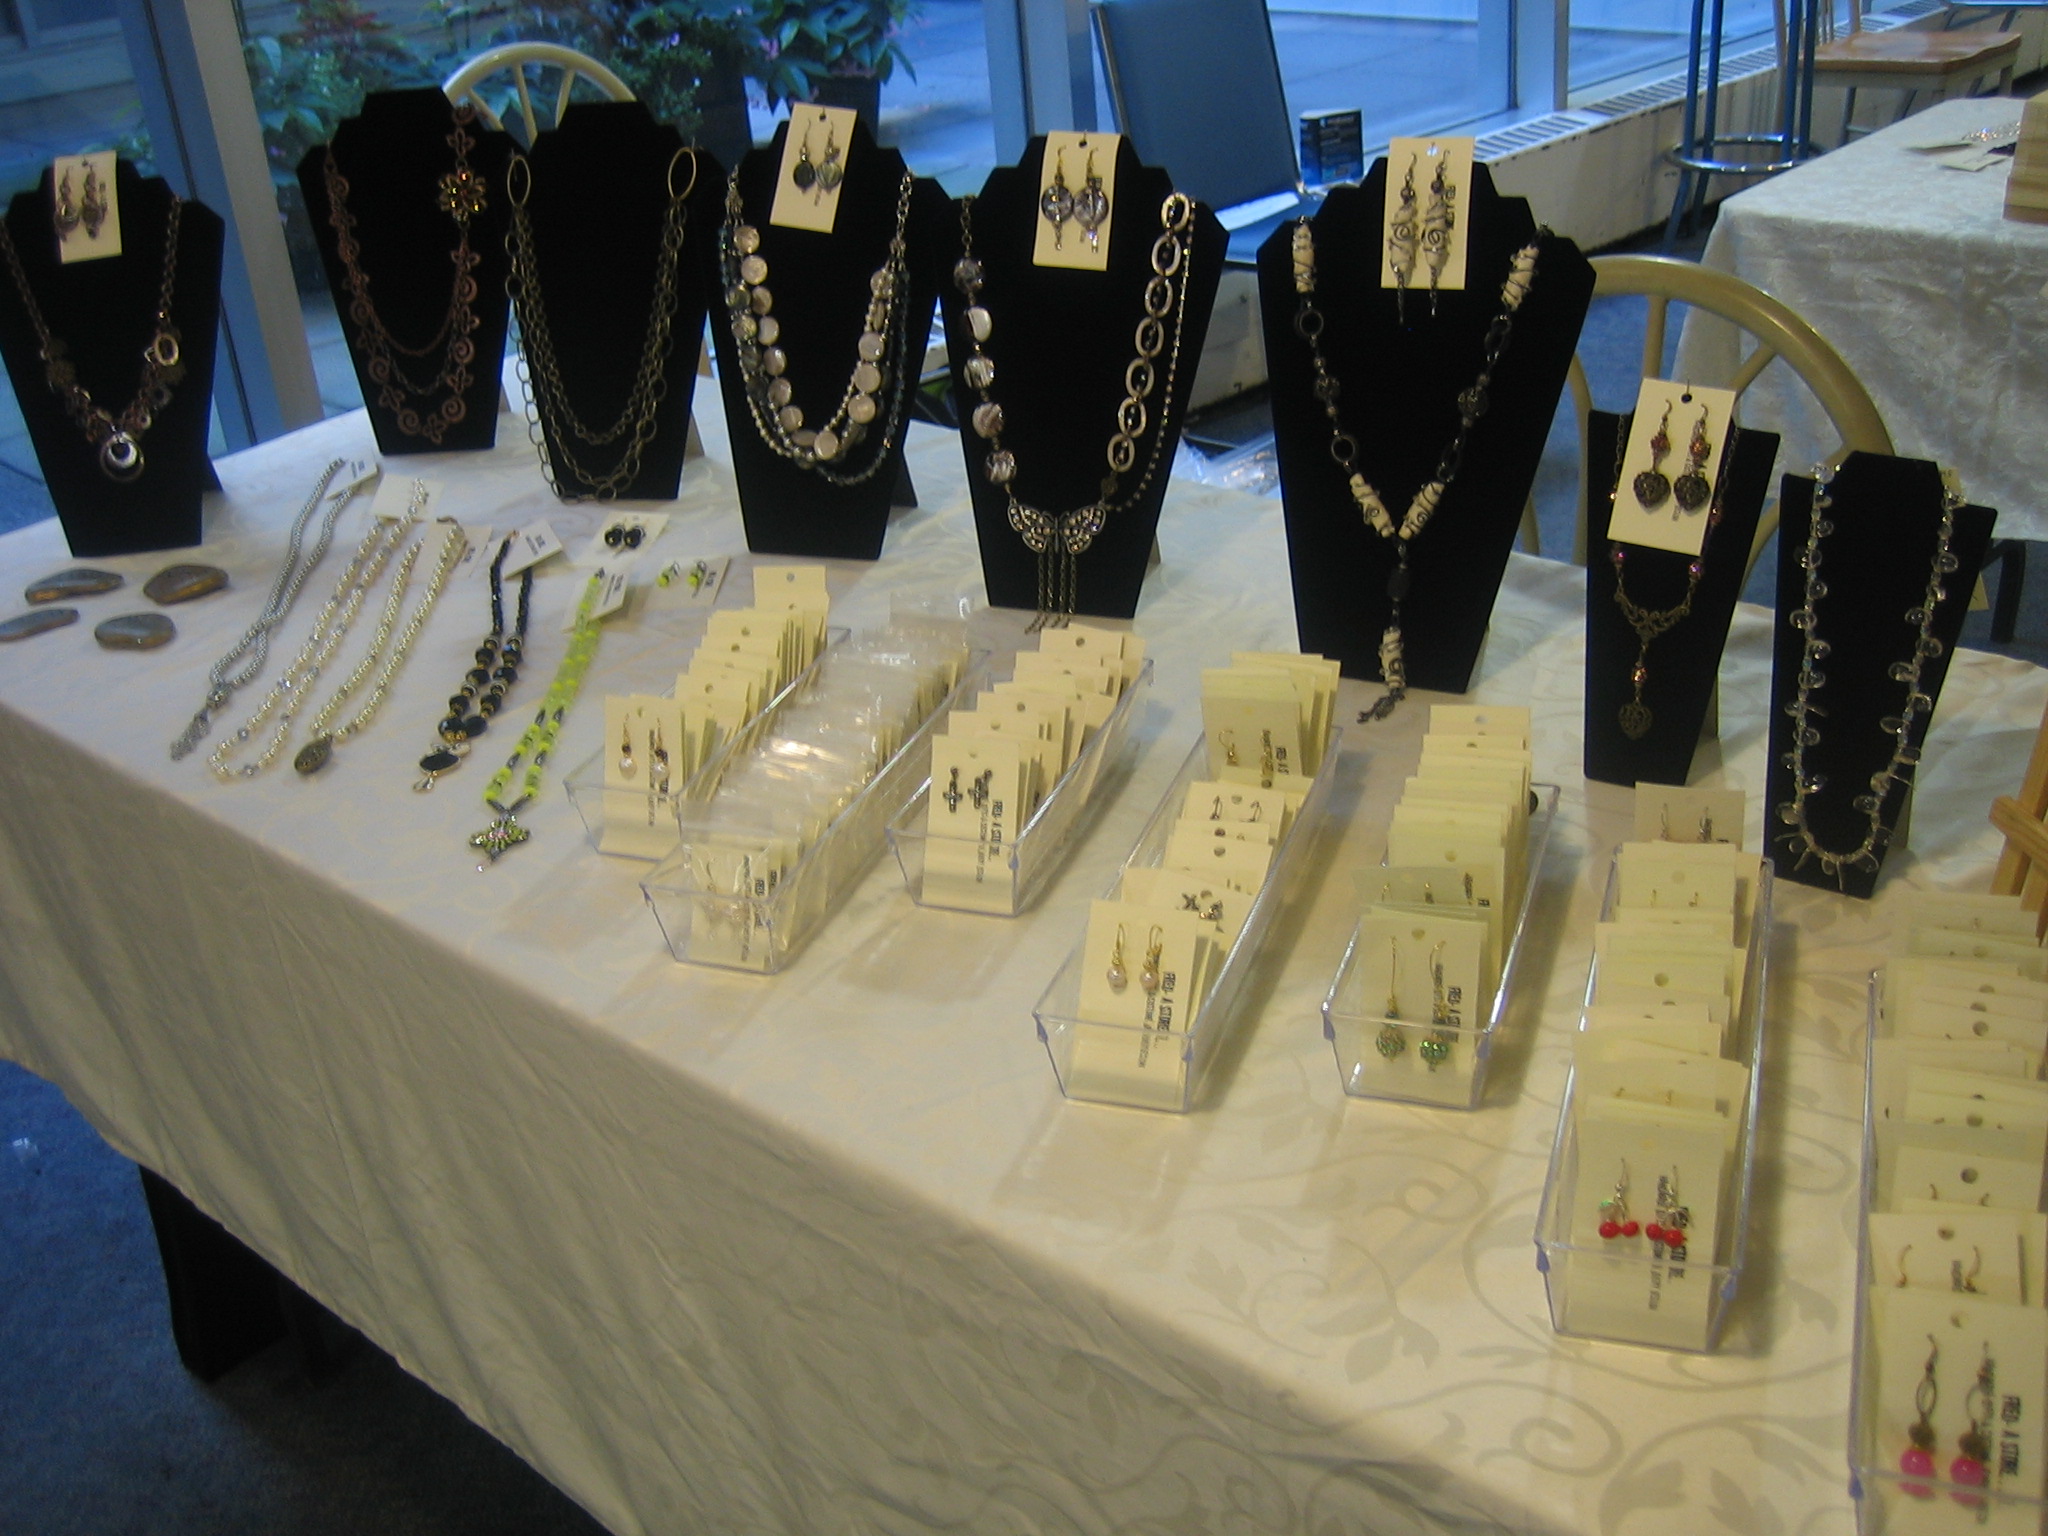
Creativity does splash over into all areas of my life. I can’t always be making jewellery even though I enjoy it, and sometimes I make other things – like food, for instance. I am a fan of food in all of its many forms.
Yesterday after making a bunch of sterling silver clip on earrings to boost my stock levels in that category, thoughts turned to making dinner. Since I have been laid off from my admin assistant “day job” for a while and a new job is proving elusive, I have a lot more time on my hands to plan dinner for my husband, Andrew, and myself, but I don’t always get very elaborate, and very rarely do I make a dessert. However, the mood for something sweet struck and I decided to make one of my favourite things – banana bread!
My late aunt Elaine was well-known for her banana bread recipe, but alas, it was never passed on to the family, so I had to go online and search for a reasonable facsimile. I think the secret to her banana bread was more bananas than most recipes. Having found a suitable substitute recipe, I of course could not leave well enough alone and I made key changes and additions to the recipe to make it my own!
Because Andrew likes bananas in his lunches sometimes, and because we flirt with the idea of dieting and making smoothies for diet breakfasts but then never make the smoothies, we often have a lot of bananas ripening faster than we eat them. Rather than throw those blackening bananas out, however, I toss them into the freezer until they reach critical mass. Since one loaf of banana bread requires 3 or 4 (read: 4) bananas, I am now making two loaves of banana bread.
So, I take 8 frozen bananas out of the freezer to thaw in a bowl.

Keep in mind that once a banana has been frozen the peel often turns completely black, and once the bananas thaw they are truly disgusting to look at and mushy in consistency. This is EXACTLY WHAT YOU WANT for making banana bread! I wouldn’t suggest it for anything else, namely because they are so disgusting, but for this one purpose they are PERFECT!
Once the bananas are thawed, preheat the oven to 350F (175C) degrees, and then cut off one end of each banana and squeeze from the opposite end like a tube of toothpaste. The bananas will slither out of their peels along with some liquid, and will splat into your large mixing bowl. DO NOT BE ALARMED. Once all bananas are in your bowl, mash them gently and incorporate the accumulated liquid into the mixture of mashed bananas. Because the bananas are already mushy this is very easy to do.

Melt the butter in a microwave and then mix into the mashed bananas.

Mix in the egg, vanilla and sugar. I prefer to use a brown sugar substitute like Splenda (or no-name brown sugar substitute) since we try to watch our sugar consumption around here, but you can use regular white or brown sugar for good results.
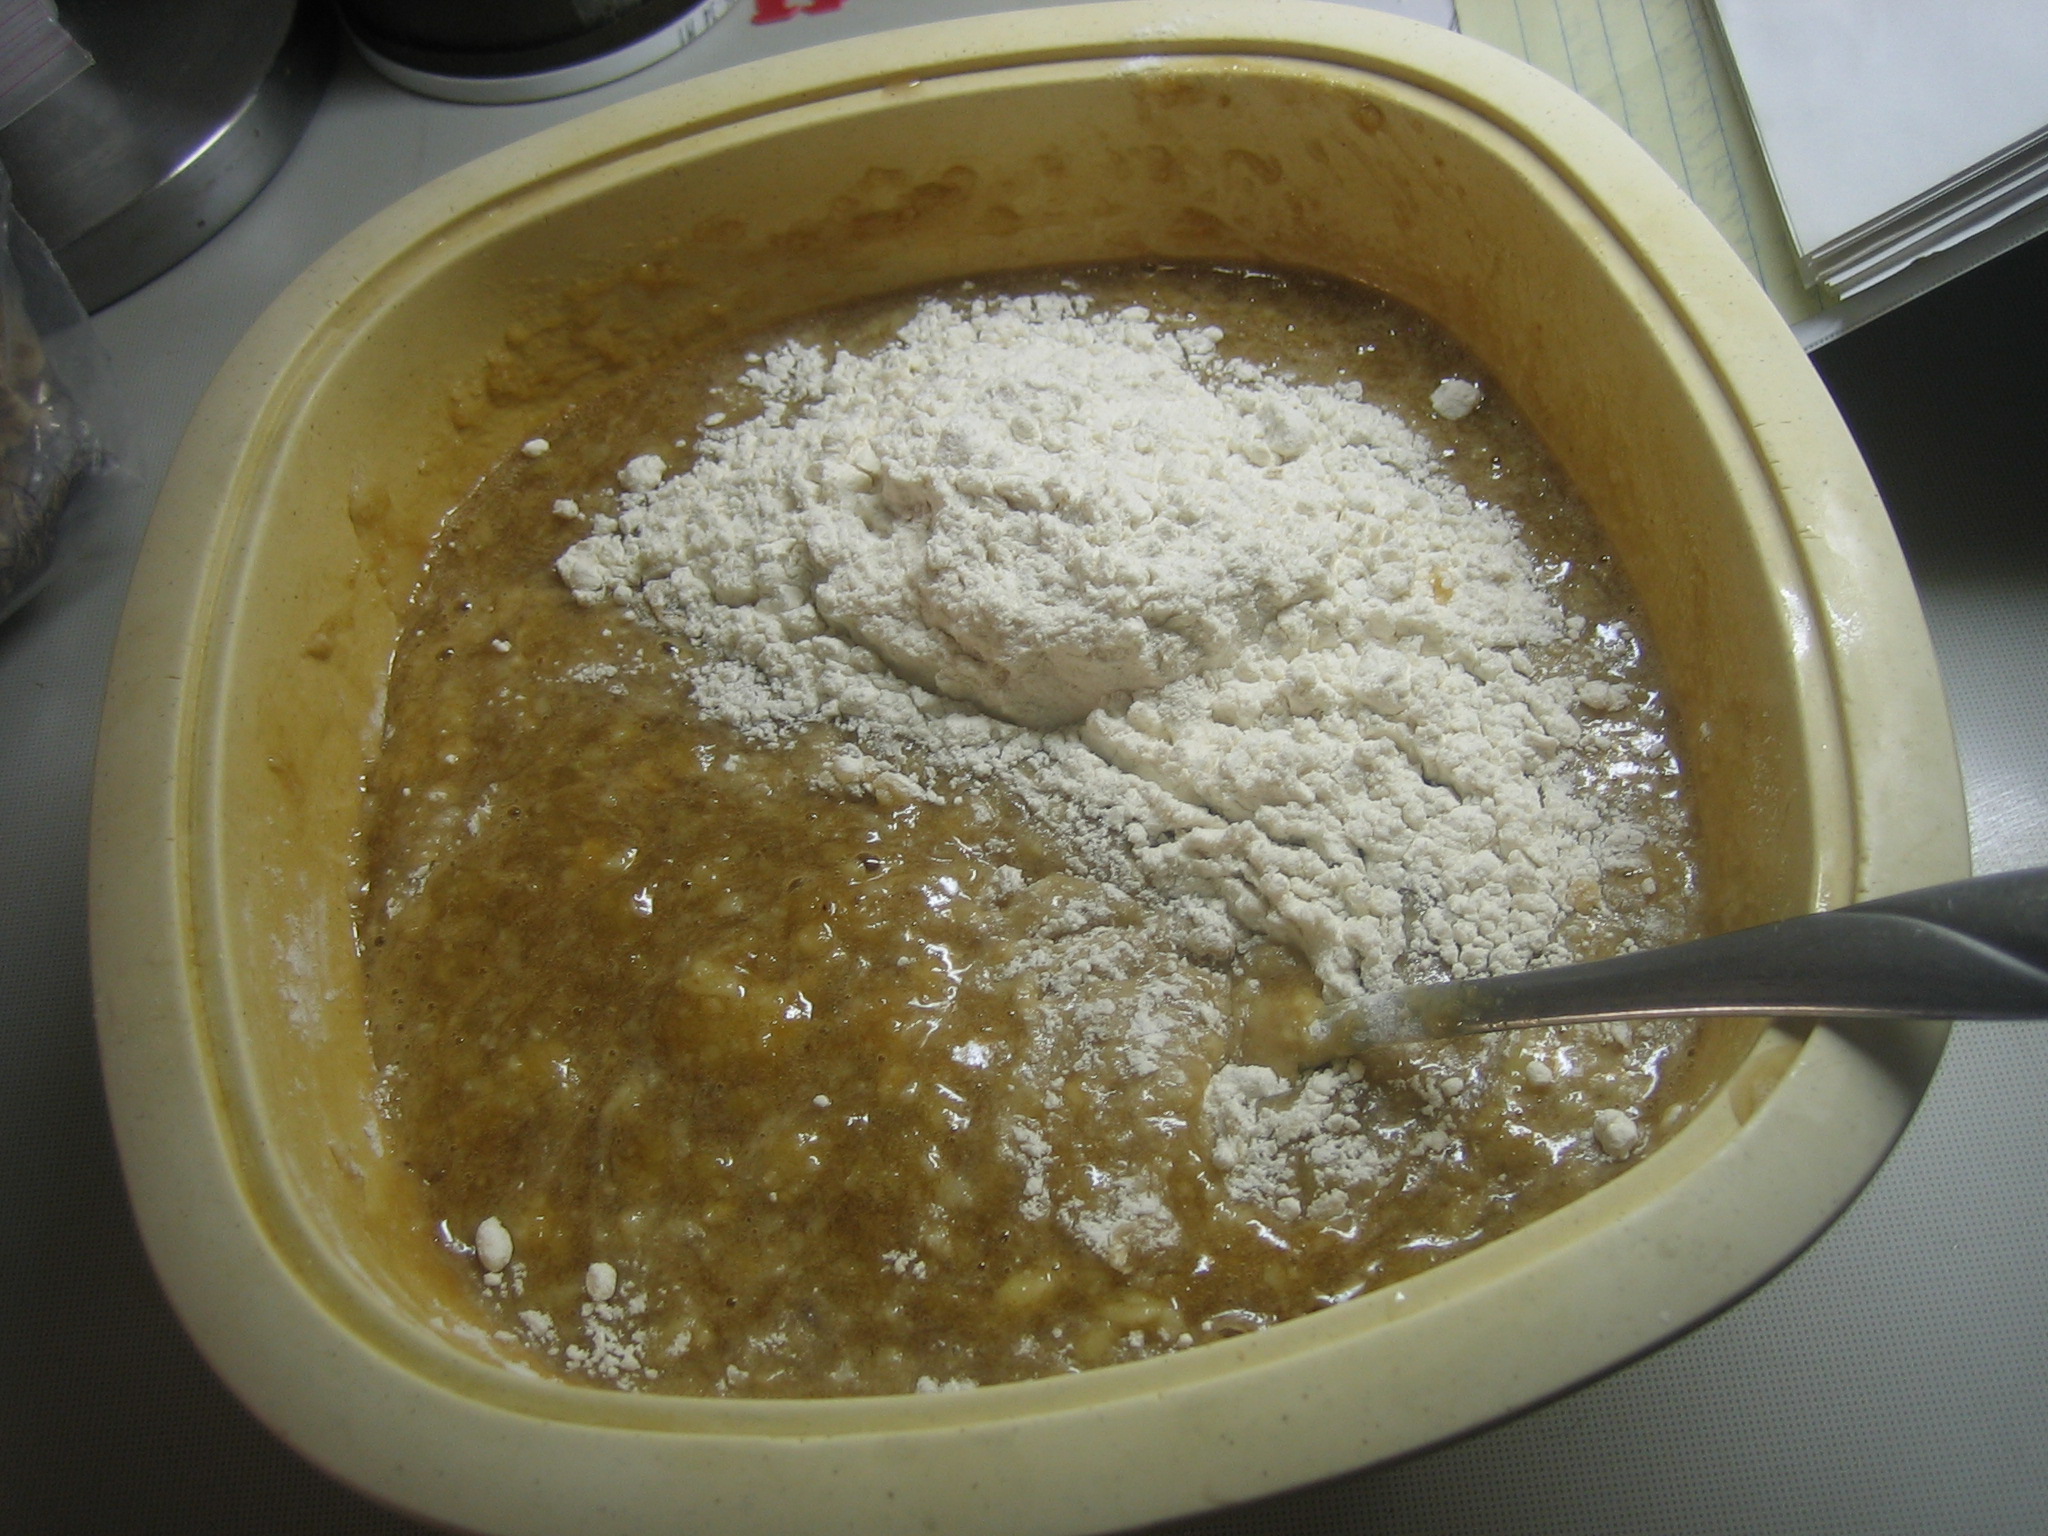
 Sprinkle the baking soda and salt over the mixture and thoroughly blend in to avoid clumps. Once that is blended in, add the flour last. It is easier to do if you blend it in a bit at a time.

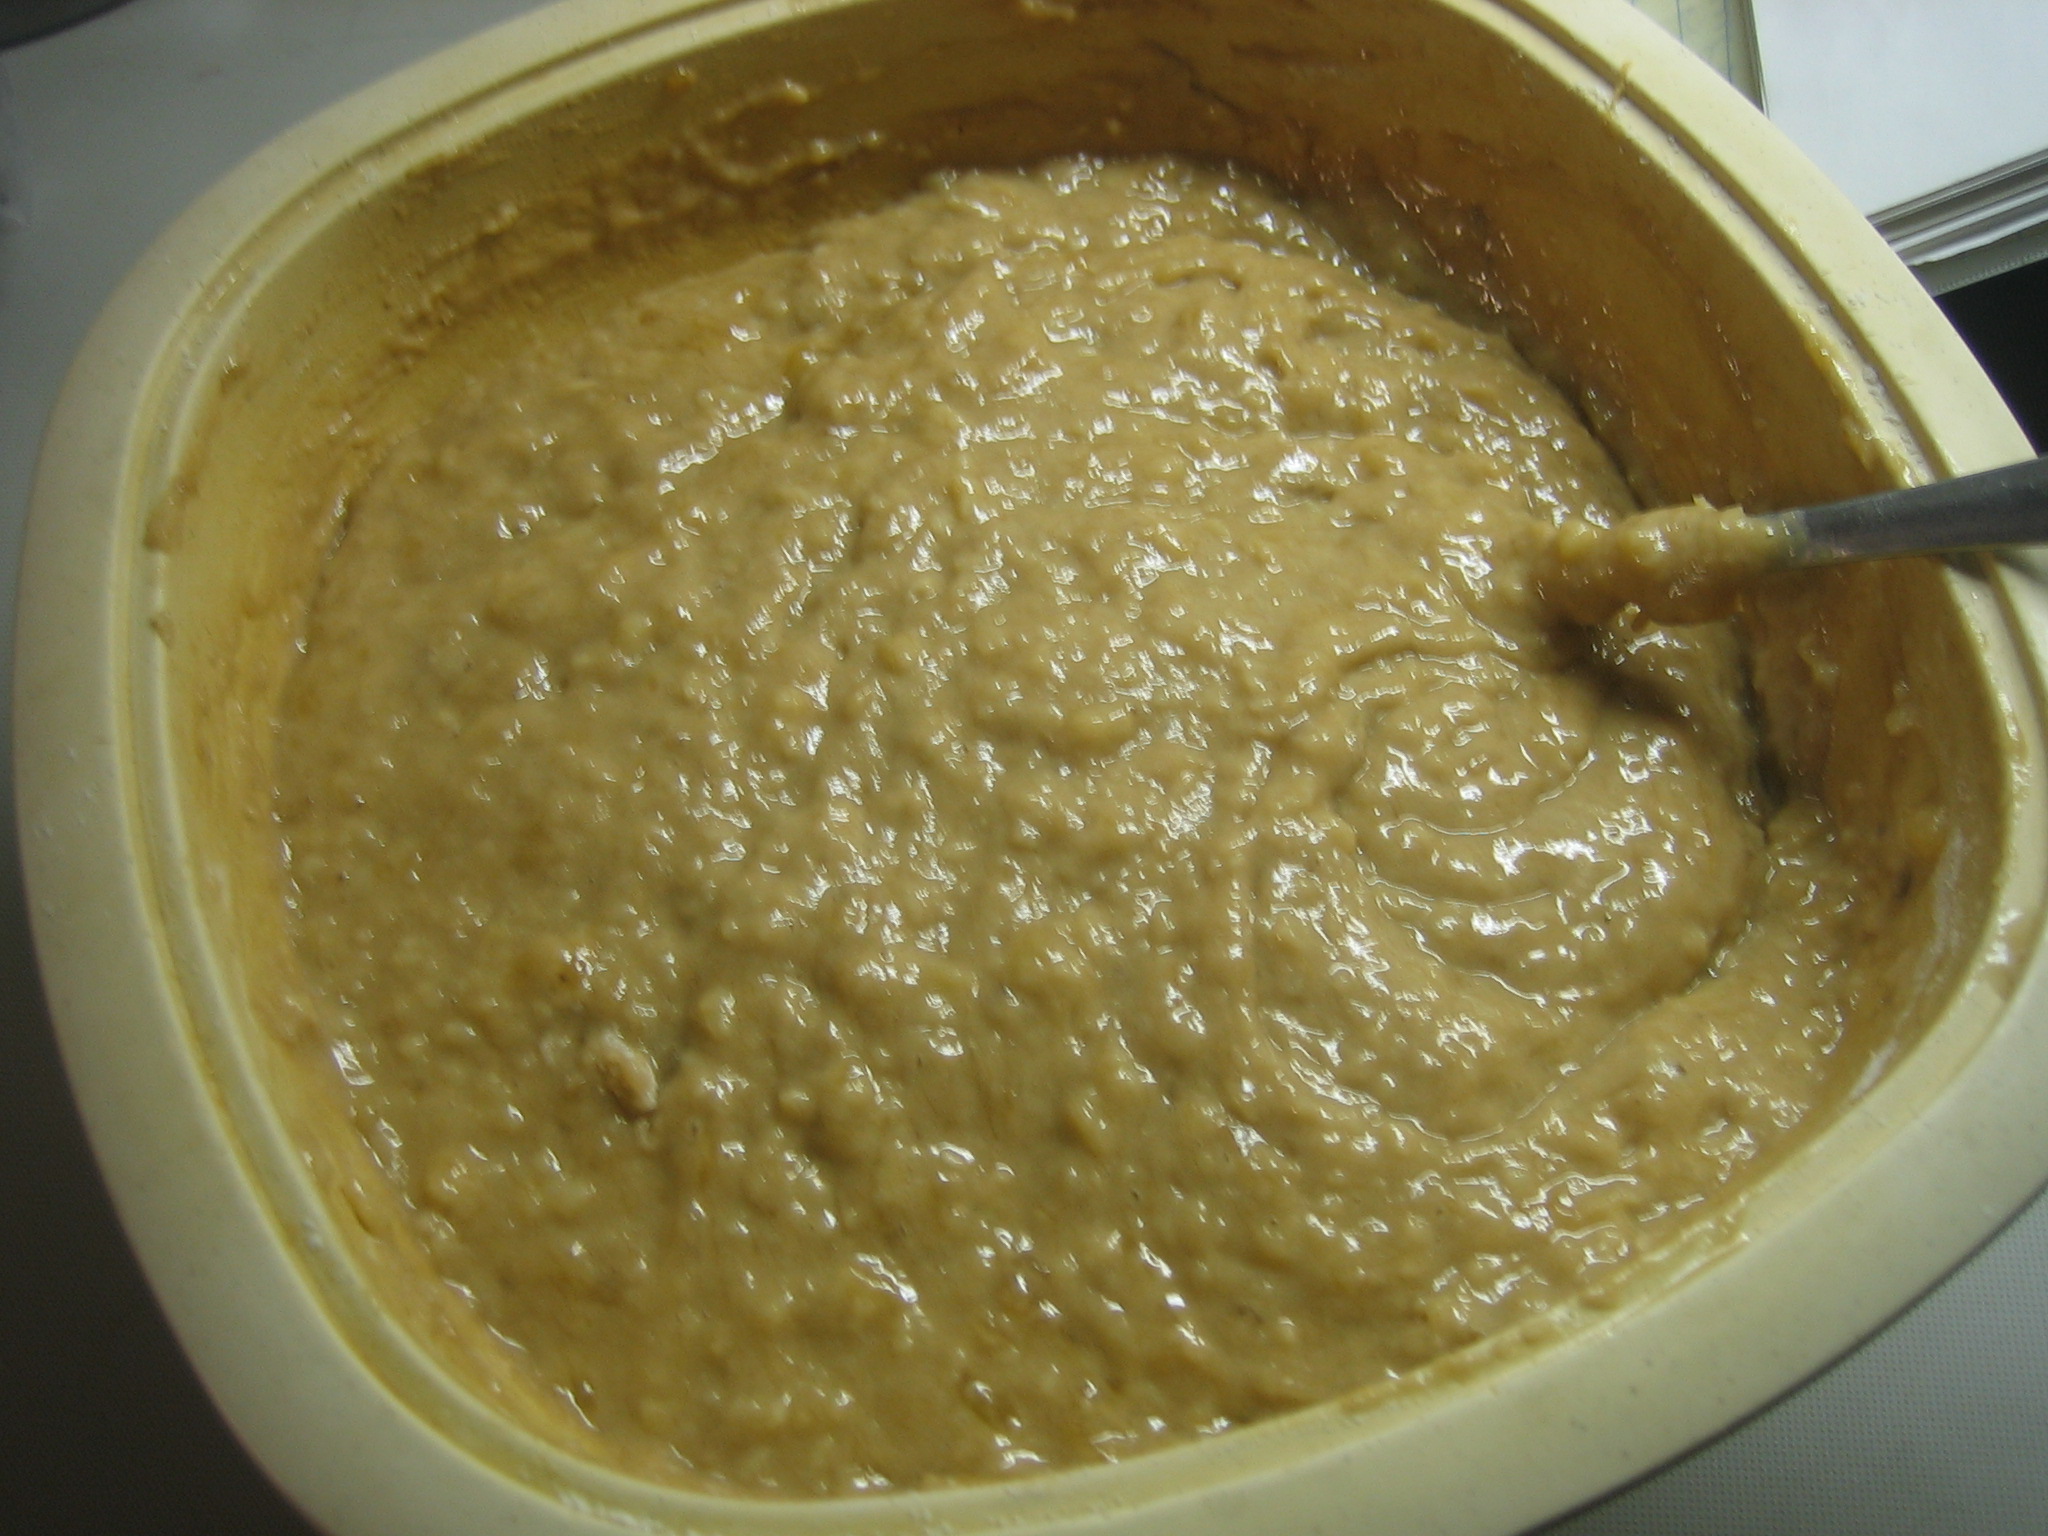
Once the flour is all blended in, you should be looking at something like this:

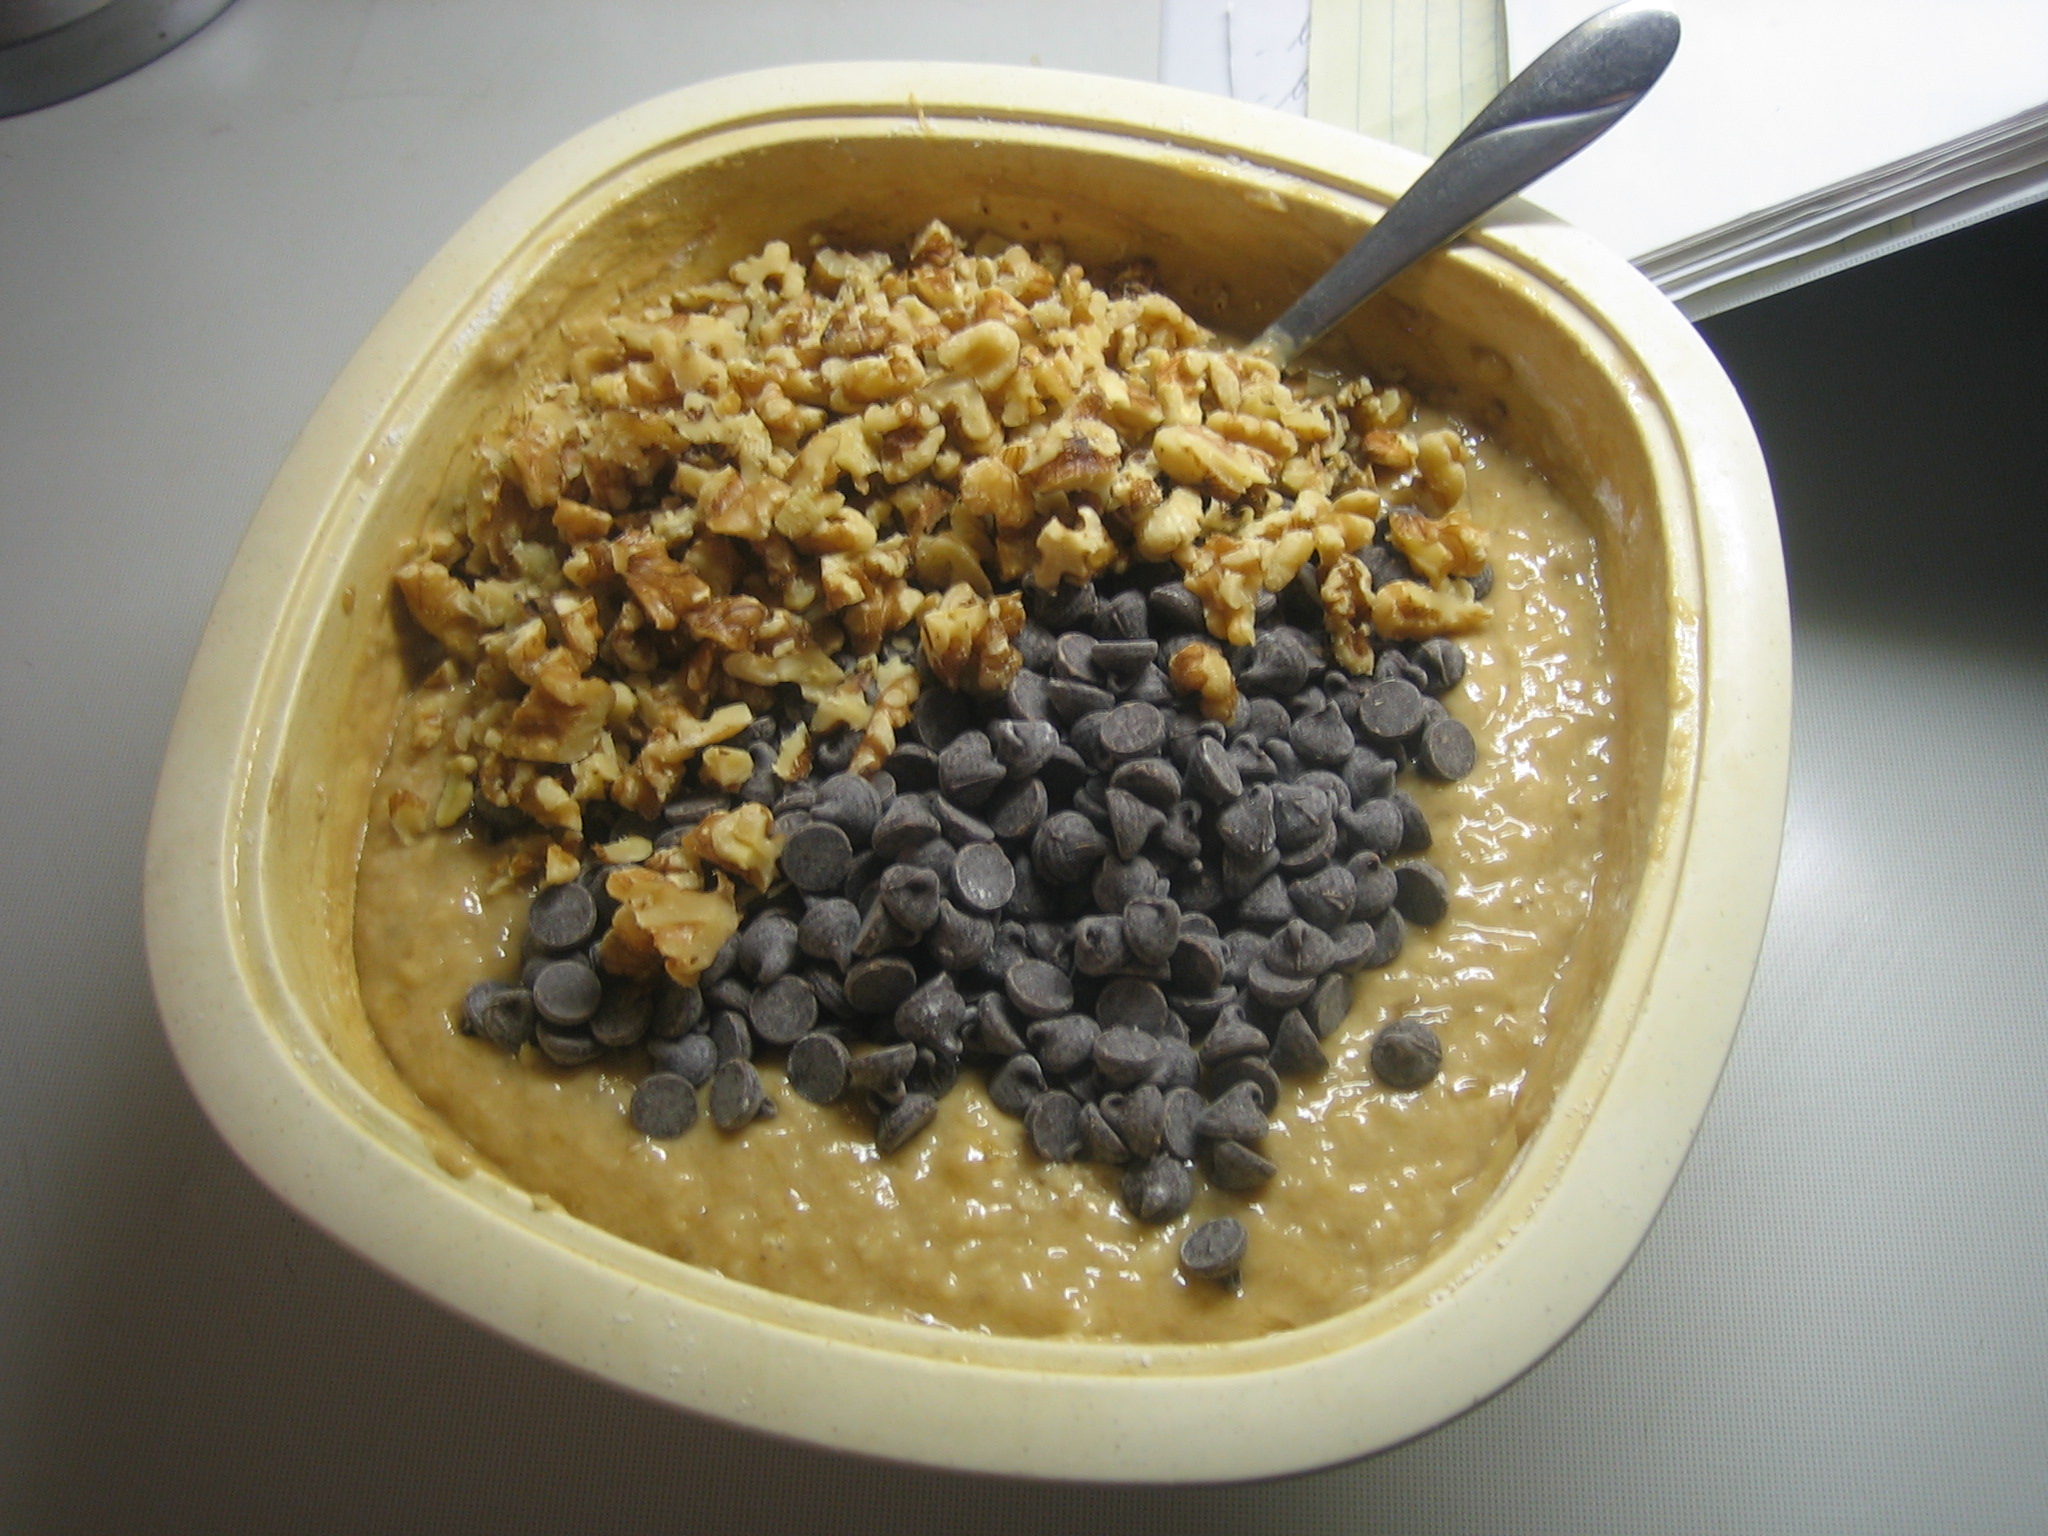
If you were following the original recipe you would stop there and pour the mixture into two buttered (or silicone) loaf pans. However, I already told you that I could not leave well-enough alone. So, from here I would add not only chopped walnuts (which make everything better, and they are good for you!), but I also add chocolate chips for good measure. After all, bananas and chocolate are a famous pairing!

I prefer to buy shelled walnuts that are not chopped and then chop them lightly myself since there are fewer shells in the mix to break your teeth! Slightly larger chunks of walnuts yield a more pleasing finished product, but use your own preference to guide you.
The chocolate chips should be semi-sweet.
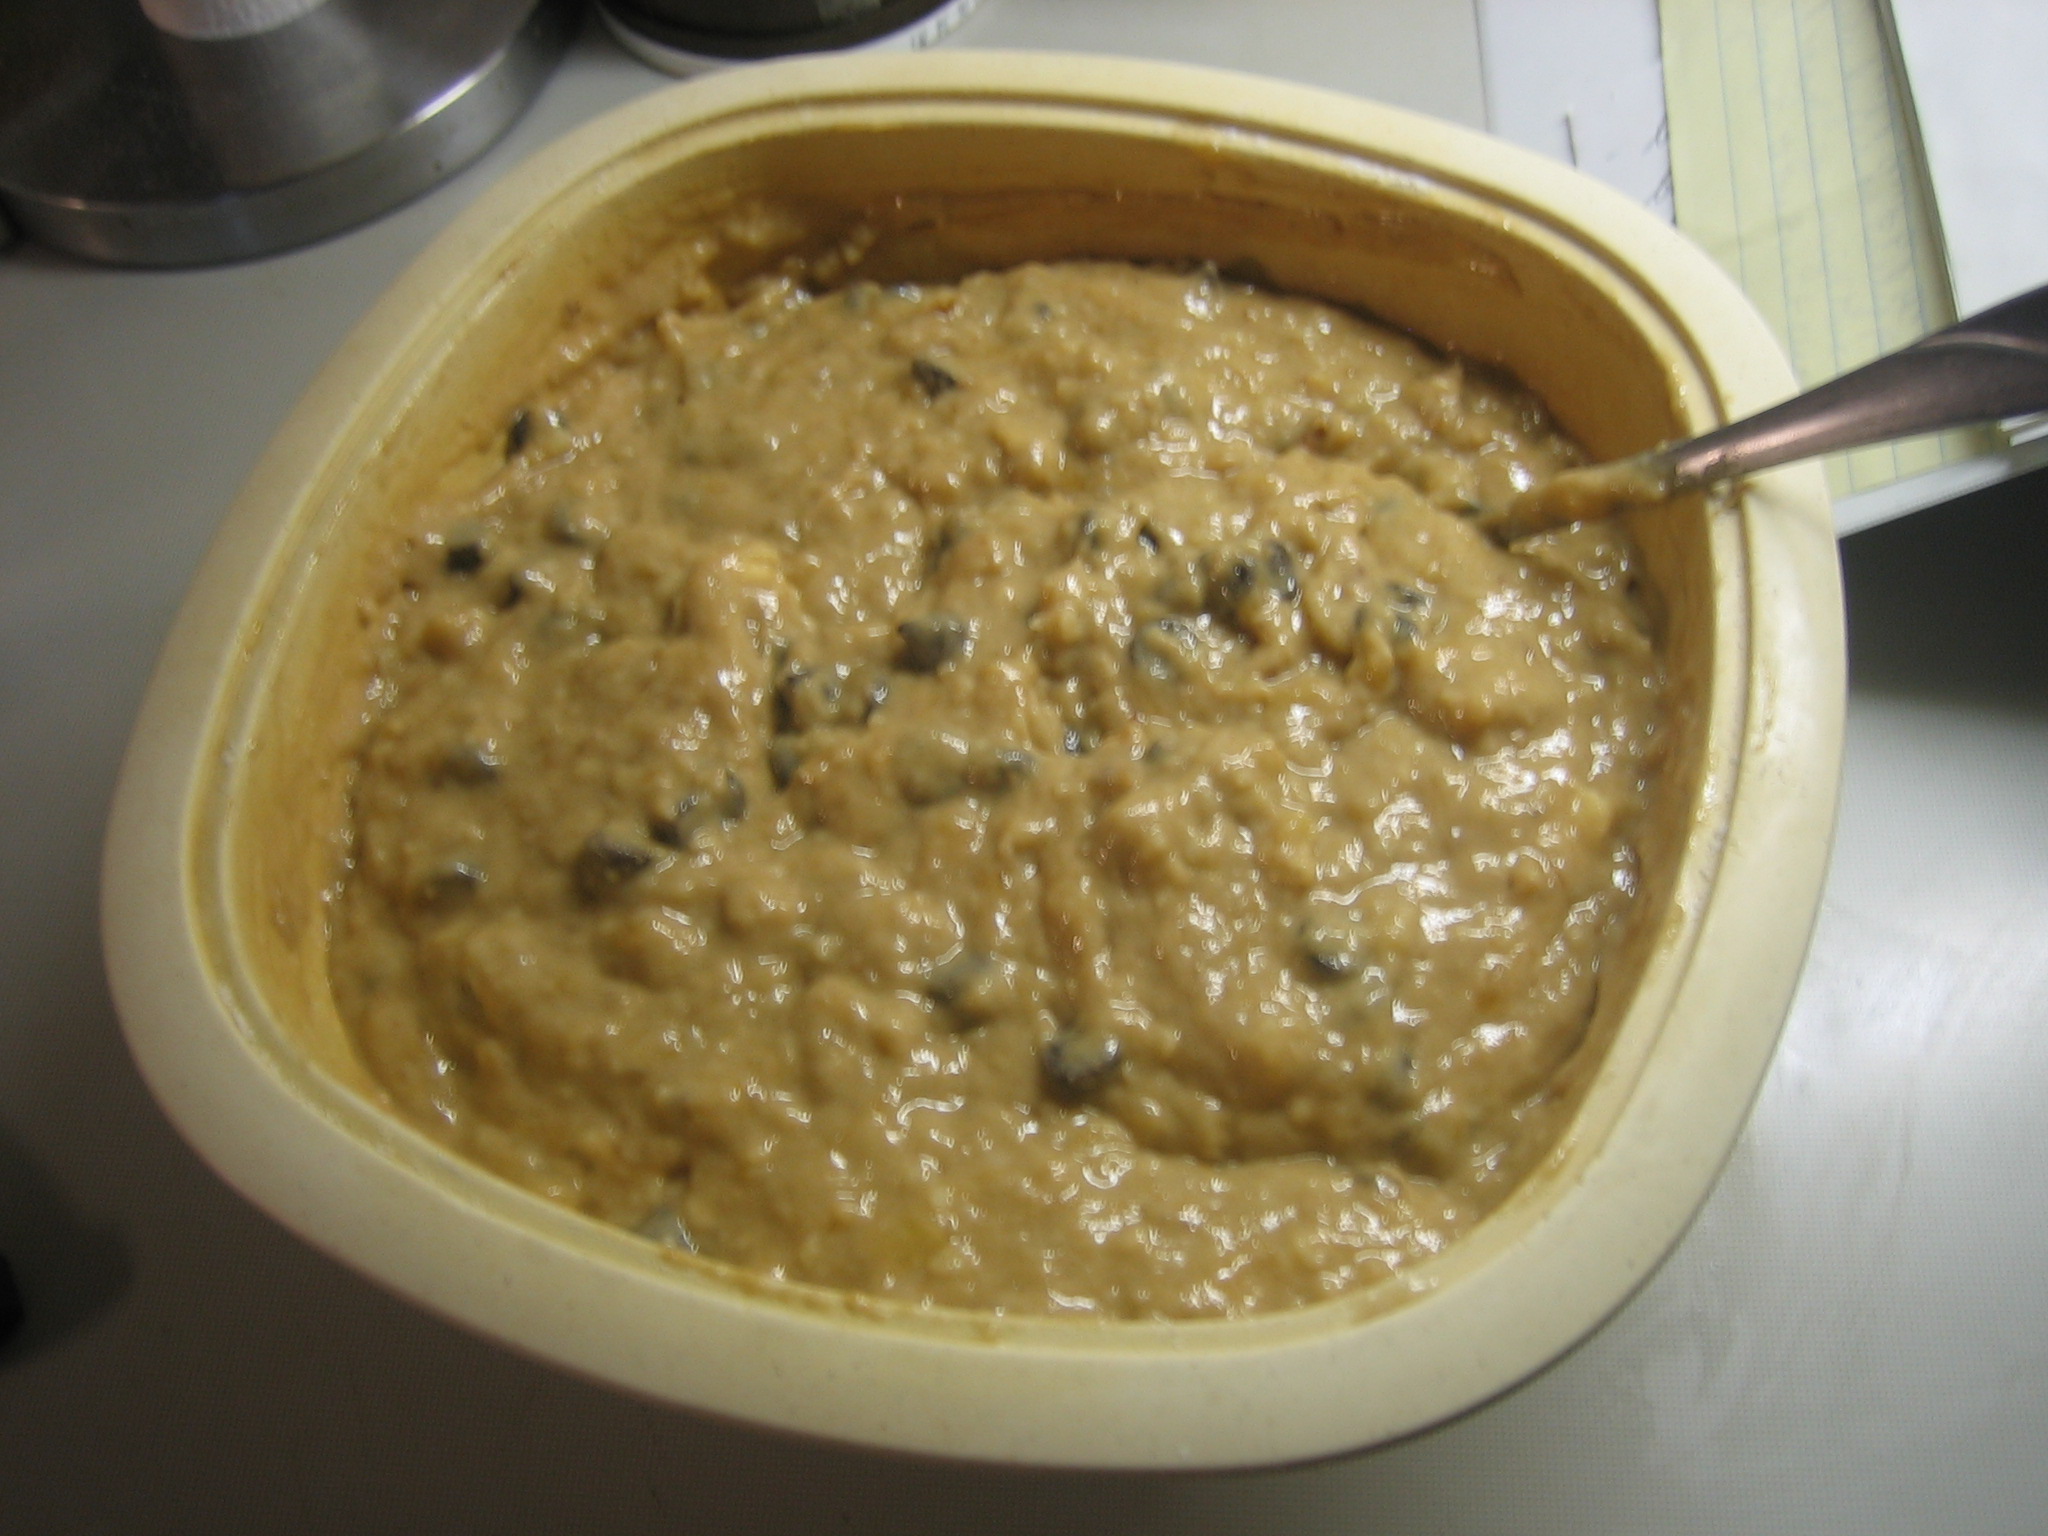
Fold the nuts and chocolate chips (if using – and I think you should) into the batter until they are evenly blended.

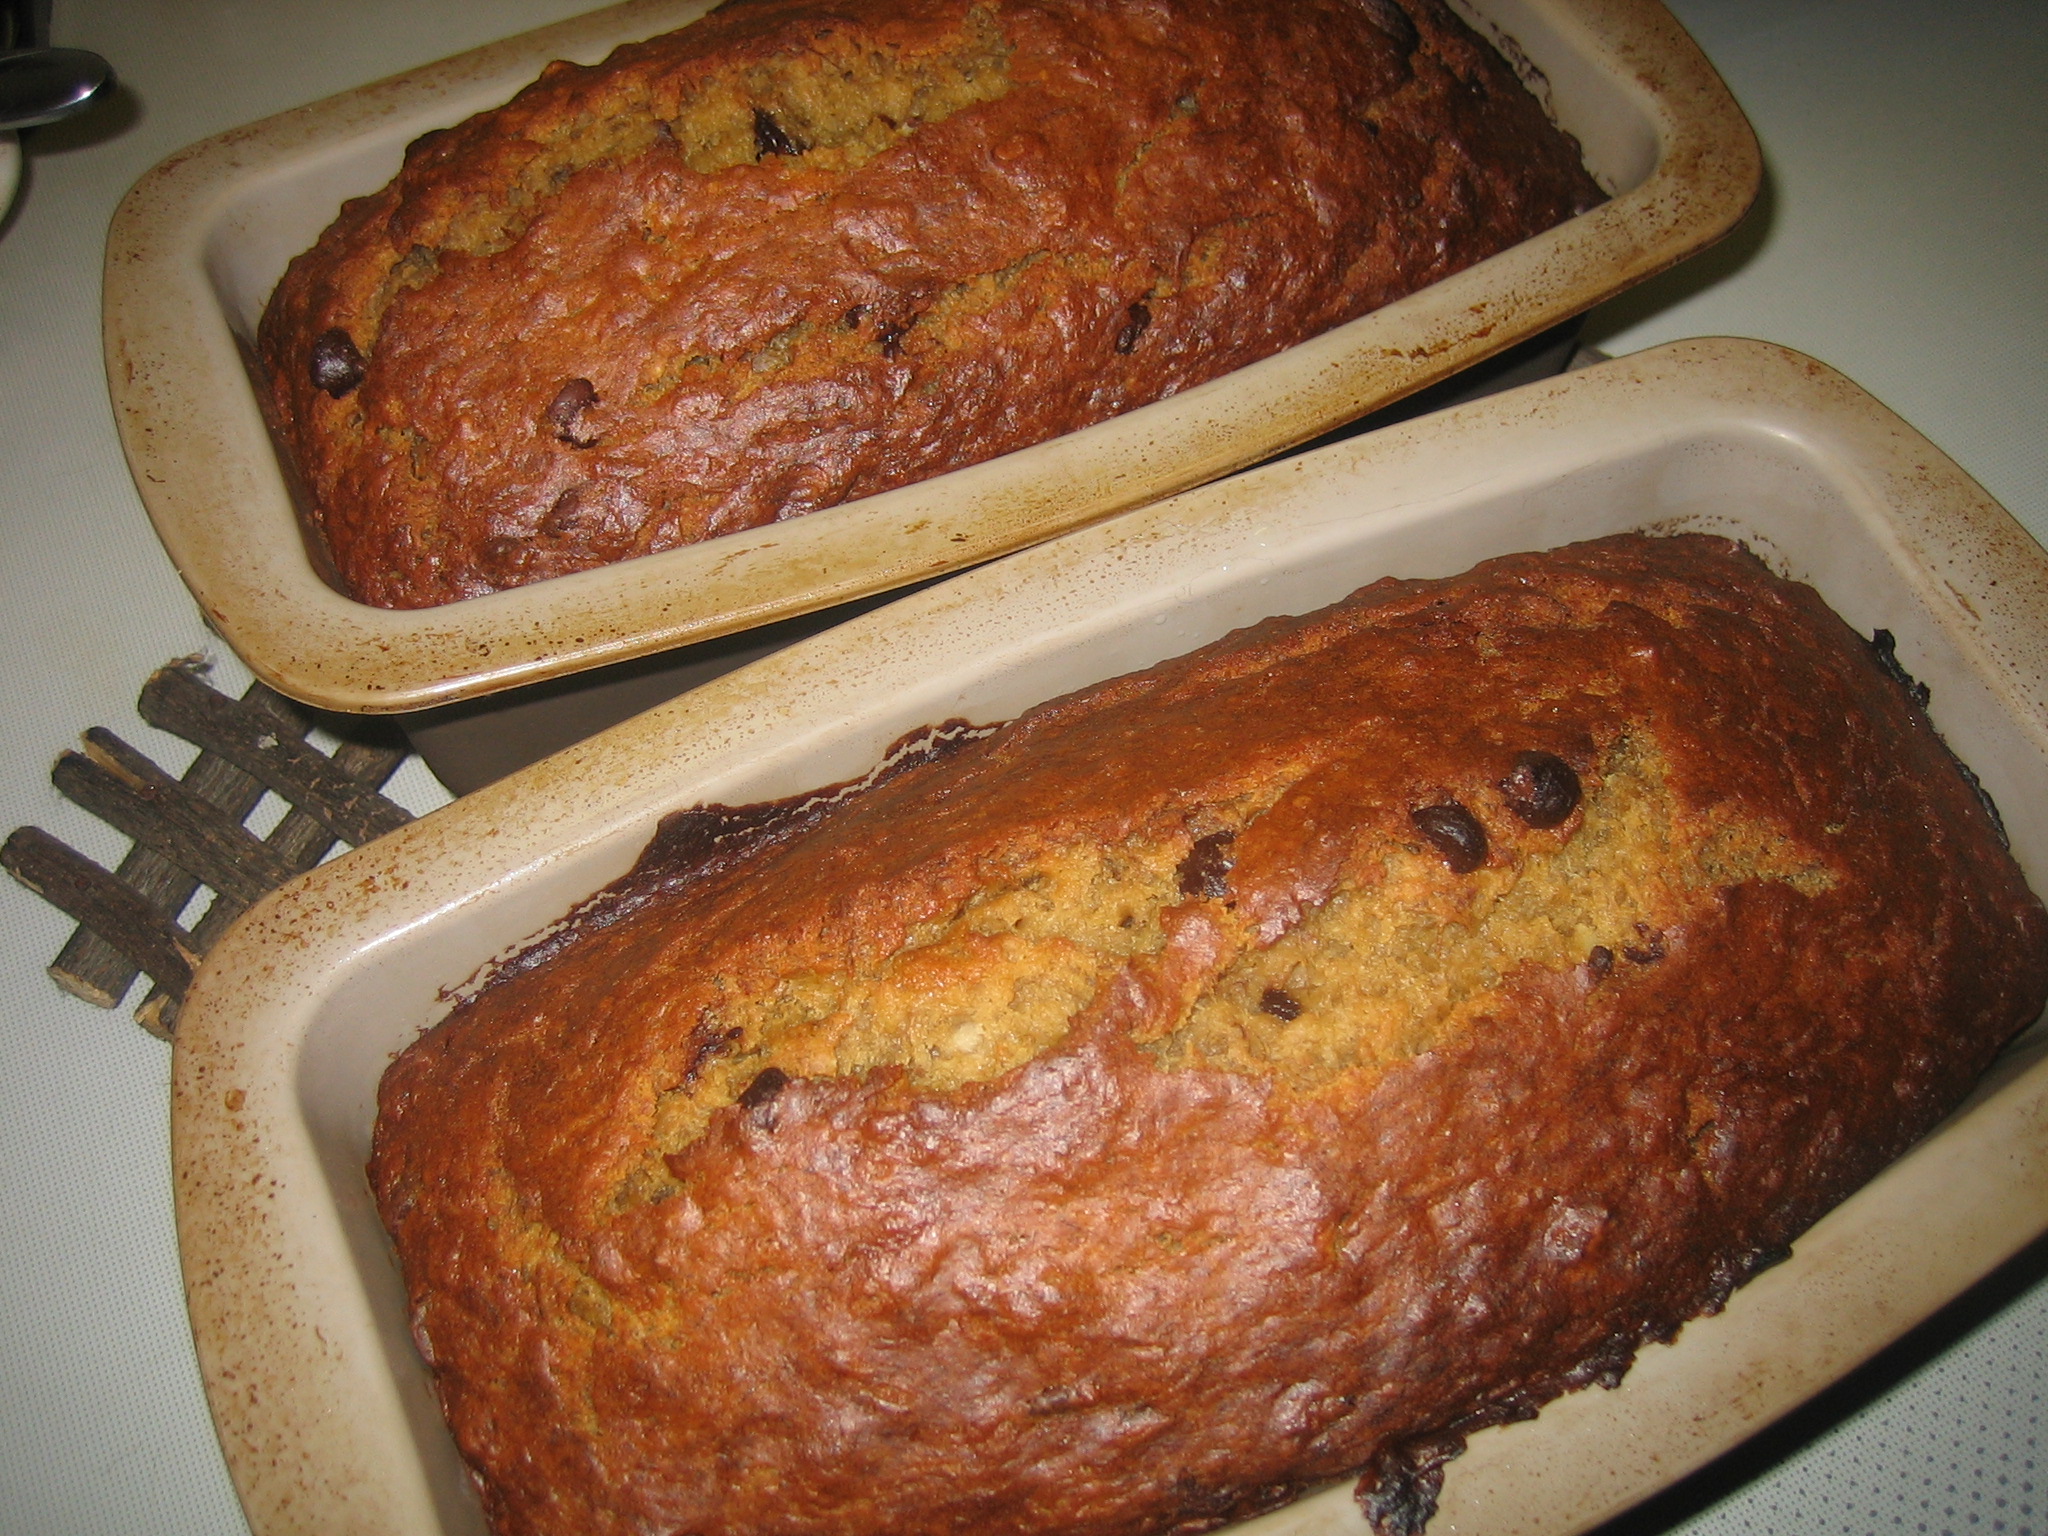
THEN pour the mixture into two buttered metal (or silicone) loaf pans. I got silicone pans a few years ago and they release the finished product like a dream! But because I also worry about the flimsy nature of the silicone pans, I put the two filled loaf pans on top of a flat baking sheet for stability and bake in the oven for 1 hour, or until centre of loaf is set.

Use a toothpick to test the centre of the loaves to make sure they are set in the centre – if the toothpick comes out clean they are done. But if you hit a chocolate chip while testing pick another spot because the chocolate will be melted and moist at this point!

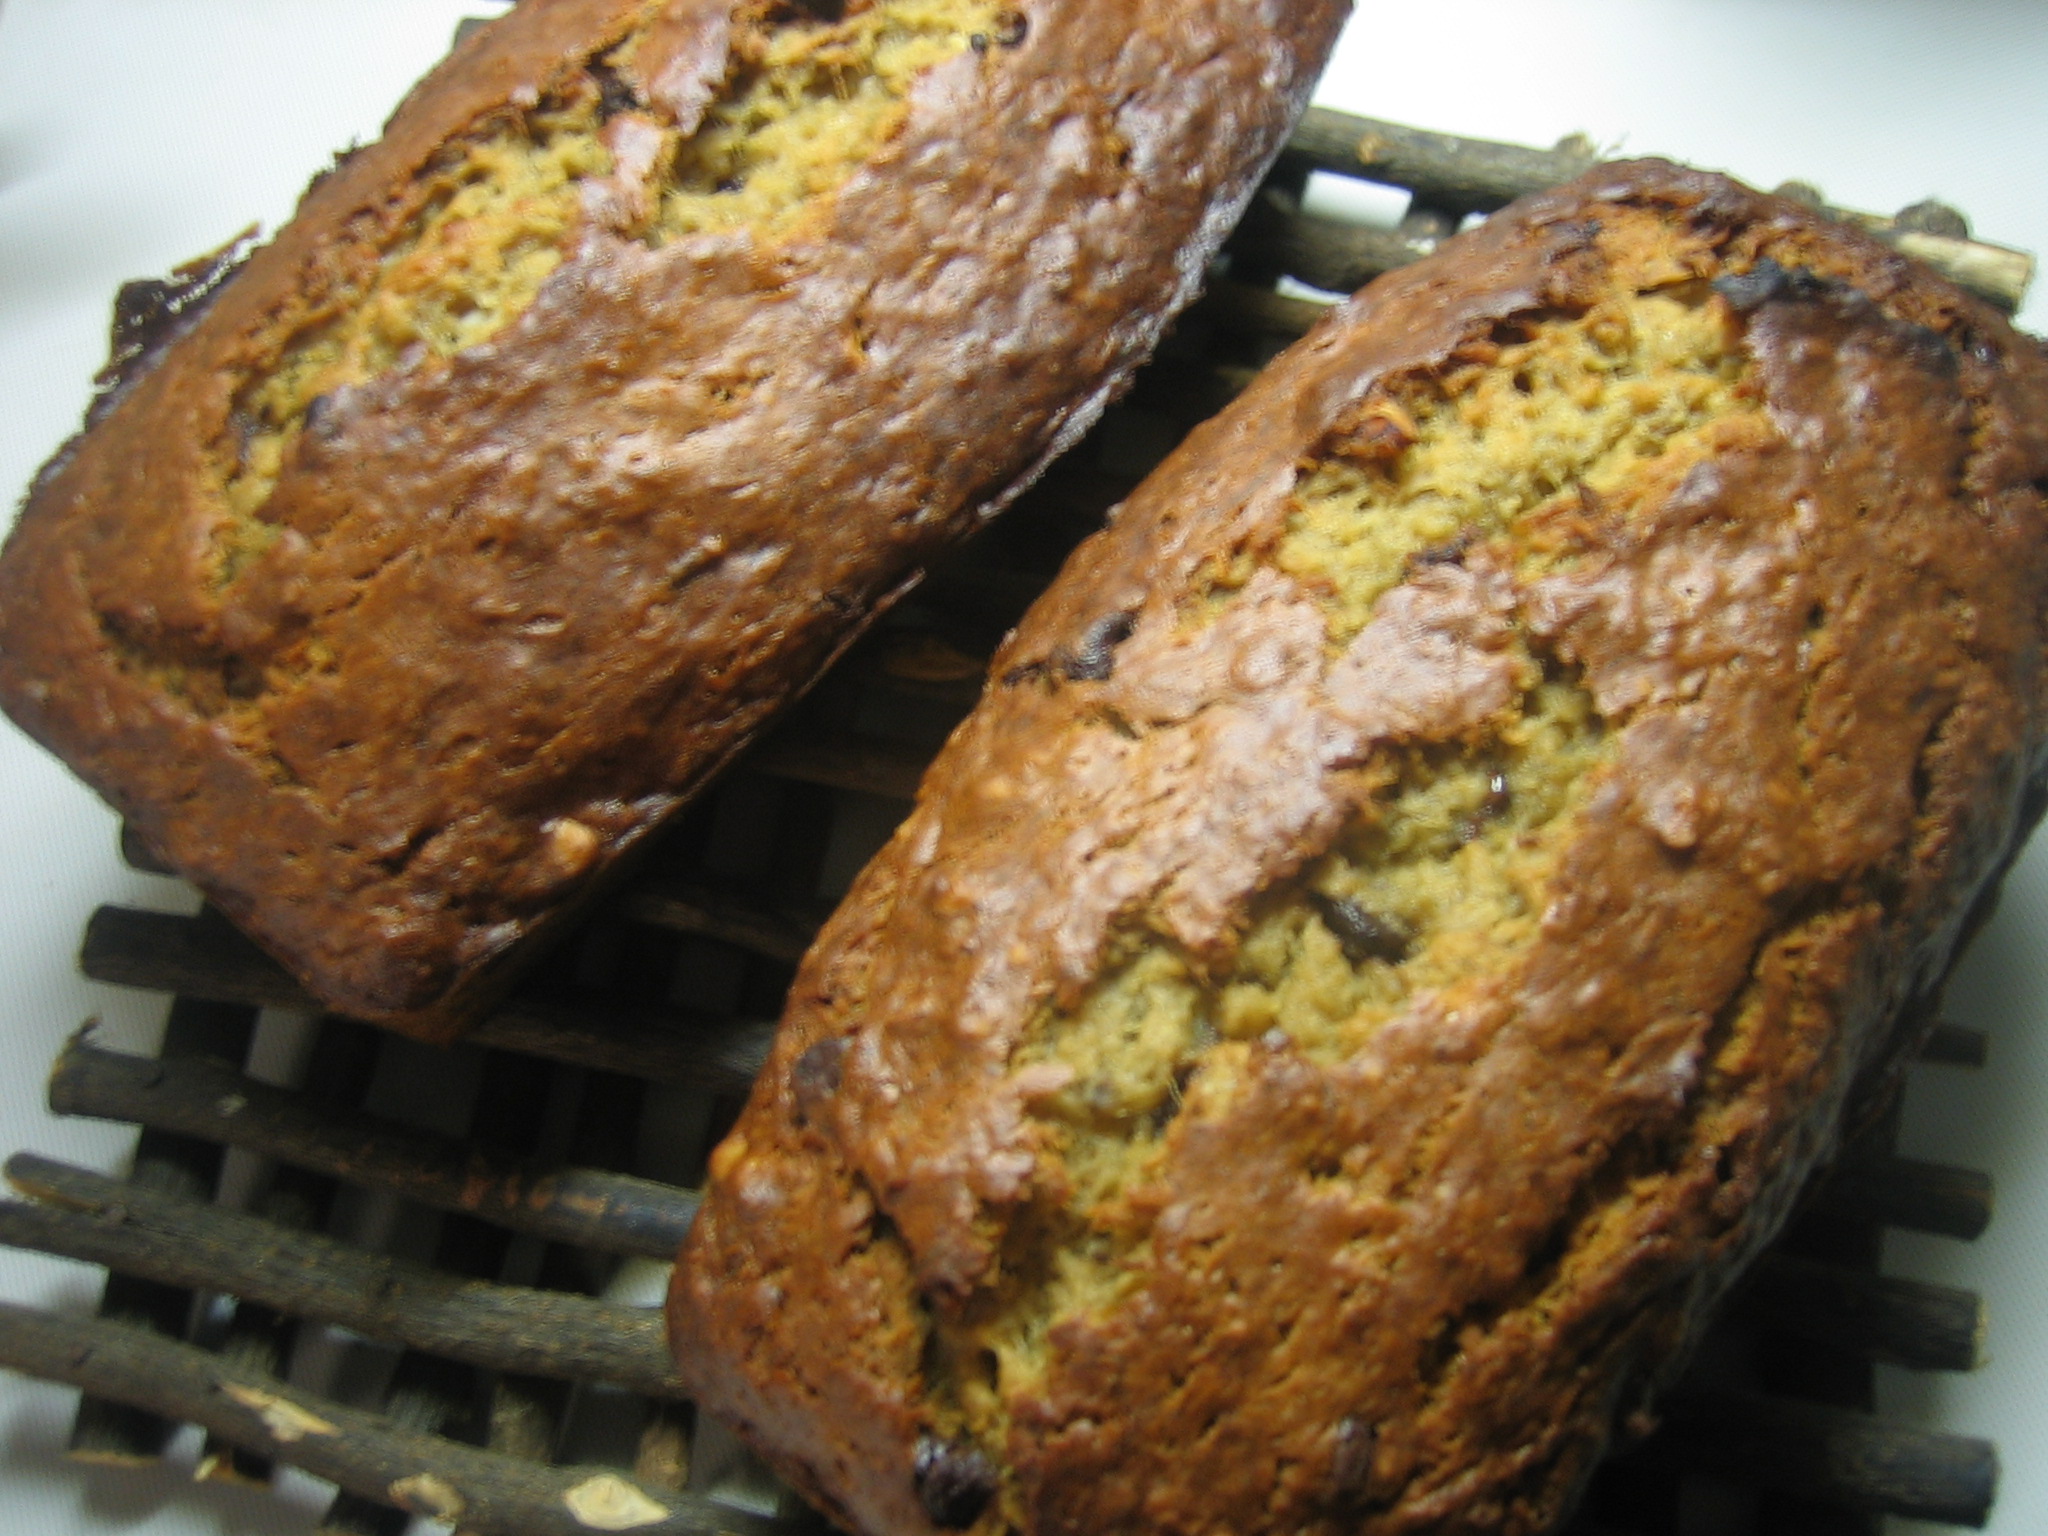
Cool on a rack and remove from pans to slice and serve!

The second loaf freezes well if you wrap in plastic wrap and put into a plastic bag once cooled, or you could invite some friends over to share!
Sandra’s Banana Bread Recipe:
- 3 or 4 (use 4) ripe bananas, mashed
- 1/3 cup melted butter
- 1 cup sugar (I reduce to 3/4 cup and use brown sugar substitute like Splenda)
- 1 egg, beaten
- 1 teaspoon vanilla
- 1 teaspoon baking soda
- pinch of salt
- 1 1/2 cups all purpose flour
- Optional: (but I do advise it)
- 1/2 cup lightly chopped walnuts
- 1/2 cup semi-sweet chocolate chips
Preheat oven to 350F. Mix butter into mashed banana in a large mixing bowl. Mix in the sugar, egg and vanilla. Sprinkle the baking soda and salt over the mixture and mix in. Add the flour last, mixing in. If using, fold in chopped walnuts and chocolate chips and blend evenly. Pour into buttered 4 x 8 inch loaf pan. Bake for 1 hour. Cool on a rack. Remove from pan and slice to serve.
Makes one loaf.

Fred – a store – handmade gifts & costume jewellery design
Facebook: https://www.facebook.com/Fredastore
Twitter: https://twitter.com/Fredastore
Pinterest: http://www.pinterest.com/fredastore/
Etsy: https://www.etsy.com/ca/shop/Fredastore